
It's 8:40 on a school night. Your 12-year-old stands at the bathroom sink, trying to guide floss behind the wire near a lower bracket. The floss shreds, so she skips the back teeth and calls it done.
Many families hit this wall in the first week of braces. Floss designed for teeth without brackets can snag on the wire or fray against a bracket's edge, and vague instructions make it hard to know where to guide it. Learning how to floss with braces gets easier when the tool matches the space and each area has a clear place in the routine.
Table of Contents
- Floss Once a Day Under the Wire and Around Every Bracket
- Choose the Right Tool for Each Space
- Step-by-Step Flossing Routine for Braces
- Daily Routine Parents Can Supervise
- Fixing Bleeding, Soreness and Stuck Floss
- Confirm Your Routine at a Free Consultation
Floss Once a Day Under the Wire and Around Every Bracket
Floss once a day, every day, for as long as the braces stay on. That's the short answer, and it holds whether your child wears metal brackets or clear ceramic ones. The American Association of Orthodontists recommends flossing at least once a day during orthodontic treatment, because a toothbrush can't reach every surface between teeth, around brackets, or beneath the wires.
Picture a 13-year-old in Middletown who flosses her front teeth carefully every night but leaves the back molars alone because the wire sits low there and the floss keeps catching. By Friday, the gums behind her lower molars look red and puffy. Nothing dramatic happened on Monday. She repeated the same gap five nights in a row.
The fix is not flossing harder up front. It's checking every space, including the ones behind the archwire where the brush never quite lands. Brackets and wires create ledges where food and plaque collect, so a normal flossing motion slides right past the spots that need the most attention.
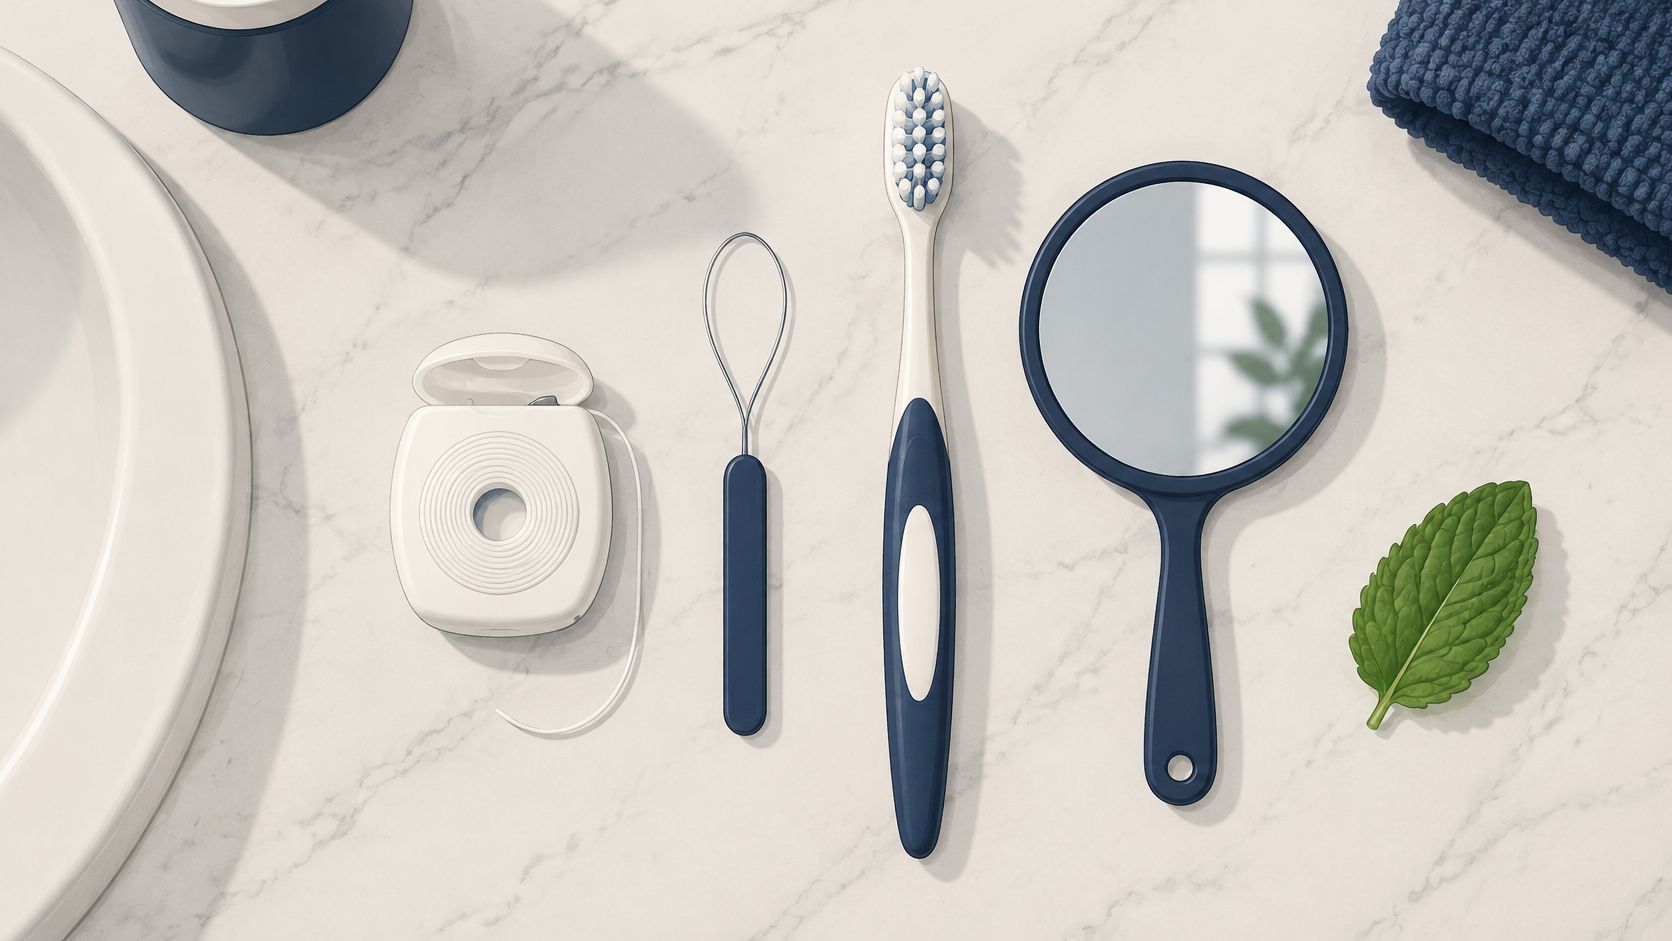
One routine won't fit every space, which is why it helps to match a tool to each area before worrying about speed. Start with a floss threader, then add a small brush or a water flosser where they earn their place. The next section compares those tools side by side, the one after that walks through the routine in order, and a hand mirror at the end catches the food still sitting on bracket faces.
Choose the Right Tool for Each Space
No single tool wins this job. The practical move is matching a tool to each space in your child's mouth, and most families end up keeping two or three within reach of the sink.
Start with a floss threader
The default pick is a floss threader loaded with waxed floss. A threader is a small plastic loop with a stiff tail. You load the floss, pass the tail under the main archwire, and pull it through, which puts the strand where a toothbrush can never go and lets you clean both facing tooth surfaces instead of just the outer face. Waxed floss slides past brackets with less shredding than the unwaxed kind.
Orthodontic floss with a stiffened end skips the extra part entirely. Kids who find threaders fiddly, and plenty of 9 and 10-year-olds do, often prefer it because there's nothing to load. The trade-off is real: the stiff tip is thicker, so it can be harder to pass through a tight contact.
Where brushes and water flossers fit
An interdental brush reaches the areas a strand of floss can't, including bracket faces, the gap between bracket and wire, and the pocket where a wire meets a band. It complements floss at a tight contact rather than replacing it.
A water flosser earns its place after meals and around hardware that's hard to see. It does not, however, prove superior to floss. A randomized trial in adolescent orthodontic patients found no statistically significant difference between an oral irrigator and dental floss after four weeks, with plaque scores of 58.81% versus 59.46% (p = 0.070) and bleeding scores of 28.93% versus 26.40% (p = 0.1585), reported in this comparison of irrigation and flossing in orthodontic patients. That's why irrigation stays an add-on. If you want the setup details, the guide to using a water flosser with braces covers pressure settings and technique.
Interdental tools compared for braces
| Tool | Best for | How it reaches under the wire | Main limitation |
|---|---|---|---|
| Floss threader with waxed floss | Tight contacts between teeth | Threader carries floss under the archwire so both tooth surfaces get cleaned | Takes longer, and you must rethread for every space |
| Orthodontic floss with stiff end | Patients who find threaders fiddly | Stiff tip guides floss under the wire without a separate threader | Can be harder to pass through tight contacts |
| Interdental brush | Wider spaces and around each bracket | Cleans around brackets and beneath the wire; choose the widest size that fits comfortably | Must not be forced; stop if it will not pass or causes bleeding |
| Water flosser | Food after meals and hard-to-reach spots | Pressurized water flushes debris around brackets and wires | Did not outperform floss at tight contacts in orthodontic studies, so use as an add-on |
Mixing tools is normal. A threader handles the snug contacts between the lower front teeth, a brush sweeps the bracket row, and the water flosser clears lunch out of the upper back molars. Keep all three in one cup and let the child pick the order.
Step-by-Step Flossing Routine for Braces
Teach the sequence once, slowly, and let your child run it while you watch. The whole thing settles into a rhythm after about a week.
Here's the routine as a single visual you can screenshot and keep by the mirror.
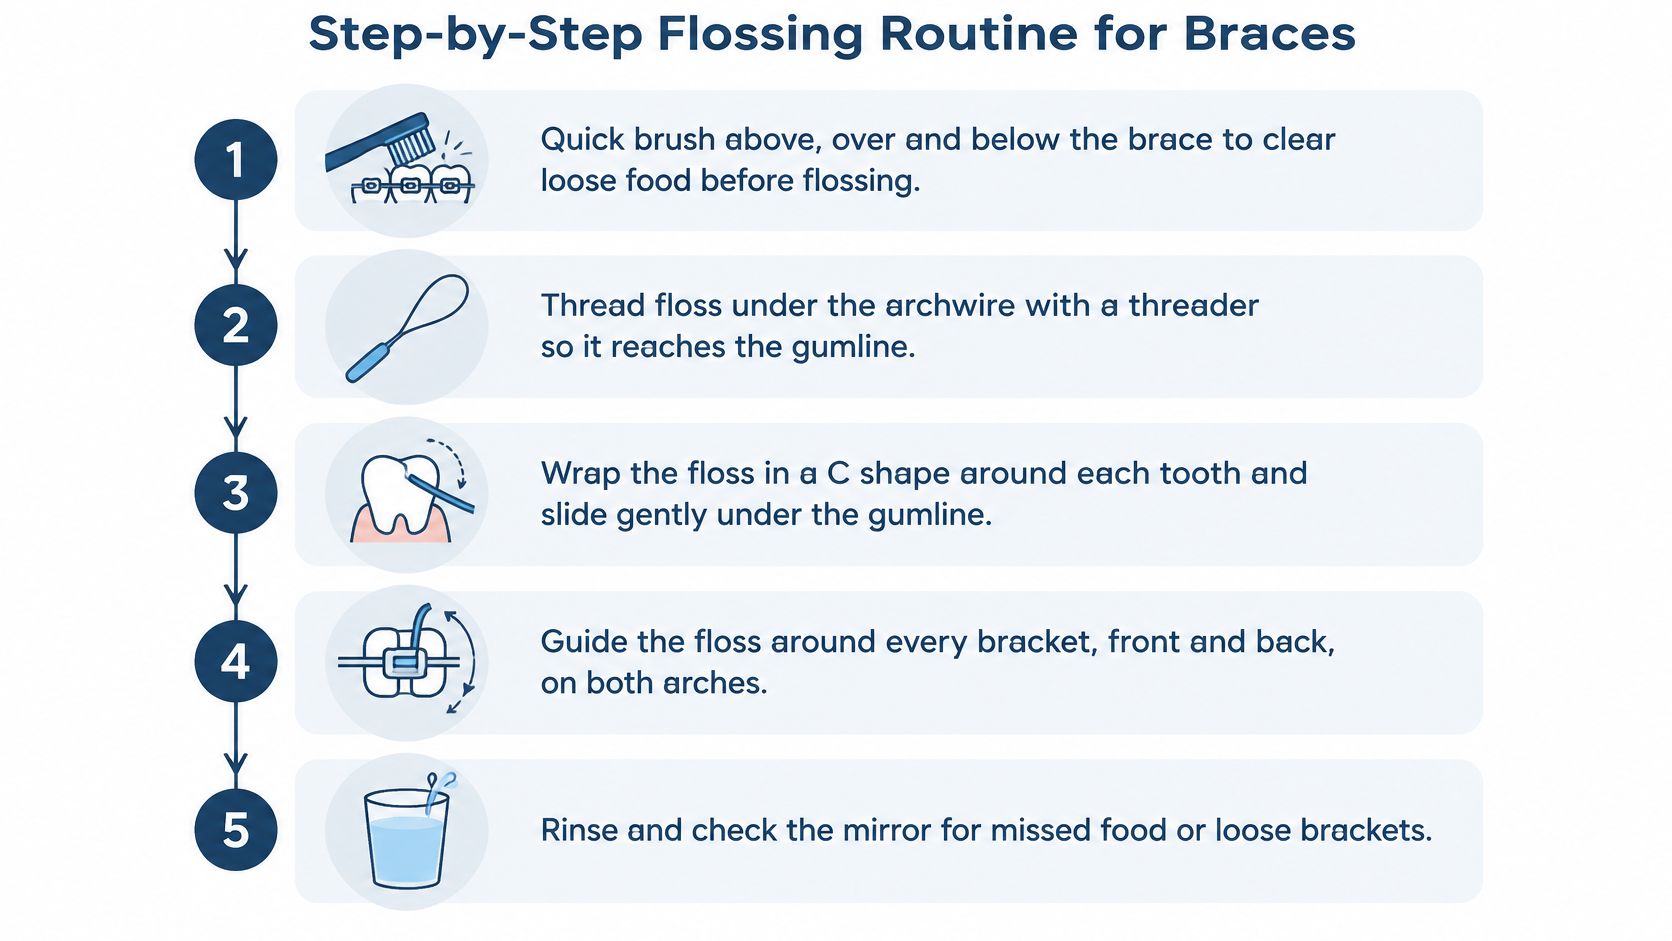
- Clear the loose food first. Brush above the brace, directly over the brackets and below the brace, then run a small interdental brush around each bracket. NHS guidance on cleaning around a fixed brace sets out that three-zone pattern, and cleaning before you brush also loosens debris so fluoride toothpaste reaches the tooth surfaces more effectively.
- Cut about 18 inches of waxed floss and thread one end through the loop of a floss threader. A longer strand gives you fresh sections as you move around the arch.
- Pass the stiff tail under the main archwire, then pull the floss through until both ends hang free. If it catches, flatten the angle of the tail instead of pushing harder.
- Guide the floss between two teeth with a gentle back-and-forth motion, never a snap. Curve it into a C shape around one tooth, slide it up and down just below the gumline, then repeat on the neighboring tooth, because every space has two surfaces to clean.
- Ease the floss out through the contact and out from under the wire. Pulling upward against a bracket is what frays floss and, over time, loosens hardware.
- Rethread and keep moving across the arch. Front teeth first, then the back molars on both sides, upper and lower. It helps to always finish in the same corner so nothing gets skipped.
- Finish with fluoride toothpaste and a rinse. The floss clears the spaces; the toothpaste coats what's left behind.
Watch the motion once before you coach it. Children copy the pace they see, and slow beats firm every time.
Common slips that undo a good routine
- Snapping the floss down into the gums. It stings, it can bruise the papilla between teeth, and it teaches a child to dread the routine.
- Skipping the under-wire pass. Floss dragged across the front of the brackets cleans almost nothing. The strand has to go behind the wire or the session doesn't count.
- Cleaning only the front of each bracket. Food packs behind brackets and along the gumline, and those are the surfaces that turn into white marks later.
For the brushing half of the routine, this walkthrough of how to brush with braces covers angle and timing.
What does a clean result look like? No food on bracket faces when you check with a mirror, gums that look pink and firm rather than glossy and red, and no gritty taste when the child rinses. An area that bleeds gets cleaned gently again tomorrow, not skipped.
Daily Routine Parents Can Supervise
Build the whole job around one thorough flossing session a day, and put it at bedtime. There's no bus to catch, most of the day's food has already been cleared by brushing, and plaque that has sat on the teeth since morning is exactly what you want gone before sleep.
Brushing carries its own schedule. NHS guidance on caring for braces recommends brushing with fluoride toothpaste in the morning, at night and after meals, plus daily cleaning between the teeth and beneath the braces, with 2 to 3 minutes of brushing twice a day.
Supervising a younger child
Sit beside your child rather than across from them, hand them a mirror, and ask them to name each space as they finish it. Check every bracket and both back molars yourself, and once a week have them run the full sequence start to finish while you watch without interrupting. Teens can own the routine, but a nightly check on the under-wire pass is still worth the thirty seconds.
The one-line rule: Clean every space once every night, including behind the back molars.
Keep a small kit in the school bag with threaders, an interdental brush and travel toothpaste, because the after-lunch clean is the one that gets skipped. A sticky note on the bathroom mirror does more than a reminder delivered from the hallway.
If a kit gets left at home, Stellar Orthodontics keeps a brush and toothpaste on hand for patients who arrive without theirs, so a forgotten pouch doesn't end a day of care.
Appliance design and individual needs vary, so the orthodontic team's personal instructions come first, and a home routine can be set up during a visit.
Fixing Bleeding, Soreness and Stuck Floss
A child may notice a trace of blood on the floss after cleaning between teeth that have been hard to reach. Bleeding is a common worry. Plaque along the gumline can irritate the gums, so skipping that spot may leave the cause in place.
Clean gently each day, guiding the floss rather than snapping it against the gums. If bleeding persists or worsens, ask the orthodontic team to review the area.
Braces flossing symptoms, causes and next steps
| Symptom | Likely cause | Next step |
|---|---|---|
| Gums bleed when flossing starts | Plaque along the gumline that was previously missed | Keep cleaning gently every day; contact the orthodontic team if bleeding persists or worsens |
| Floss snags on a bracket or wire | Pulling upward against the appliance | Ease the floss out through the contact and rethread if needed |
| Floss will not pass under the wire | Tight contact or wire placement | Switch to a floss threader or orthodontic floss; ask the team if it still will not pass |
| Interdental brush will not pass between teeth | Space too narrow for that brush size | Choose the next smaller size; never force it |
| Sore spot on cheek or gum | Irritation from a bracket or wire edge | Contact the team about a poking wire or broken bracket and ask about orthodontic wax |
| Swelling, pus, fever or severe pain | Possible infection or injury | Contact your dental or orthodontic team promptly for professional review |
When a brush will not pass
Interdental brushes clean around brackets and beneath the wire. NHS advice for looking after a fixed brace recommends daily use between the teeth and under braces. Choose the widest brush that fits comfortably; different spaces may need different sizes.
If the brush will not pass, try the next smaller size. Forcing it through a tight contact can irritate the gum and bend the bristles, making the brush less useful. Stop and ask the orthodontic team if it still will not pass easily or causes persistent bleeding or pain.
What no tool promises
No single device guarantees healthy gums throughout orthodontic treatment. A systematic review of interdental cleaning in orthodontic patients included six studies with 442 patients and rated the evidence for interdental brushes as low certainty. It found no consistent advantage over single-tufted brushes or oral irrigators, as summarized in this review of mechanical interdental cleaning.
A steady routine helps remove plaque, but it cannot rule out every cavity or gum problem. Symptoms that do not settle deserve attention from the dental or orthodontic team. For soreness after an adjustment, see these braces pain relief tips.
Confirm Your Routine at a Free Consultation
A floss threader may pass easily beneath the wire at the front, then catch near a back molar where the wire sits closer to the gum. Checking the path on your child's braces can show where to angle the floss and which tool fits each space.
Stellar Orthodontics offers a free consultation that covers braces, Invisalign, timing and financing in plain language. Bring the threader, interdental brush and toothpaste your family already uses. The team can watch the floss pass under the wire, check the brush size and help identify any spots being missed.
Families can visit any of the four Delaware offices:
- North Wilmington at 2304 Concord Pike
- Middletown at 818 Kohl Avenue
- West Dover at 125-2 Greentree Drive
- Millsboro at 26670 Centerview Drive
Mention any problem that has not settled, such as lingering bleeding, a poking wire or a brush that will not pass. Follow the team's chairside instructions for your child's appliance.
Leave with a routine checked by the team, a tool matched to each space and a clear plan for what to watch before the next visit.
Stellar Orthodontics provides braces and Invisalign across Delaware for children, teens and adults. If the home routine still feels difficult, the team can review the tools and technique on your child's braces at a free consultation. Visit Stellar Orthodontics to book at an office near you.